Audio Editing in the Sequencer : Common audio editing functions

Common audio editing functions
The functions below apply to all audio clip types.
Delete Unused Recordings
After you have edited your audio clips in the Comp Editor, there might be unused recordings left on Comp Rows that you don’t plan to use. To reduce the file size of your song, you can choose to delete all unused recordings in one or several audio clips.
*
All recordings that are not used in the clip(s) will be permanently deleted.
As a safety measure, if you use the “Delete Unused Recordings” function on such a clip, you will be asked to confirm that you really want to remove all Comp Rows other than the selected one.
Bounce Clip(s) to New Sample(s)
You can bounce one or several Audio Clips to new Song Samples. You could then edit the samples in the Edit Sample window and then load into a sampler device for playback. Proceed as follows:
*
The Audio Clips are bounced to new Song Samples and named according to the Audio Clip name (if the clip was named) or according to the Audio Track name with serial numbers. The bounced Audio Clips then end up as sample files in the Song Samples location in the Browser. Refer to “Sampling” for more details about sampling and sample editing.
About the “Bounce Clip to Disk” function
The “Bounce > Bounce Clip to Disk” function on the Edit menu and clip context menu allows you to export the audio of a selected clip to disk as a single WAV or AIFF file. This might be useful if you want to process an audio clip in an external application and then re-import the clip to the track again. See “Bouncing Audio Clips” for more details.
Bouncing audio to MIDI notes
It’s possible to convert Single Take audio clips to note clips. This is especially useful for monophonic audio that can be edited in Pitch Edit mode. But if you like to experiment you could try it on polyphonic audio as well. The result in any situation will be a monophonic note clip on a default Subtractor instrument track.
*
A Subtractor instrument track is automatically created for each of the audio tracks. On the Subtractor track(s) a note clip for each of the selected audio clips are created.
*
The audio clips are automatically converted into note clips as you drop them on the Instrument track. Once dropped, you could play back the note clips using the present Instrument sound.
This can be very useful if you, for example, want to bounce drums to MIDI notes. You may then have to move the MIDI notes to the correct notes in the generated Note clip afterwards.
*
Normalizing audio clips
Normalizing means increasing the overall audio level so that the loudest peak in the sound touches 0 dB. Normalizing can be made on any audio clip, regardless of if they are Single Take clips or Comp clips.
1.
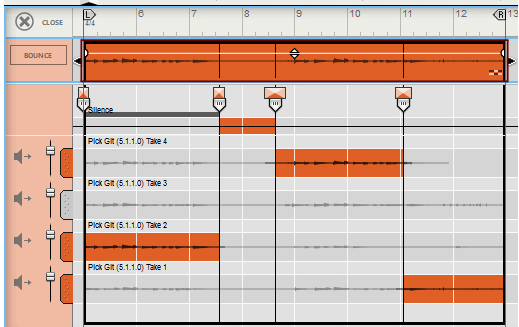
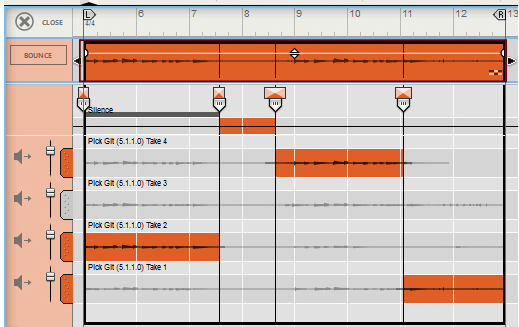
A comped audio clip selected in the Clip Overview in the Comp Editor.
2.
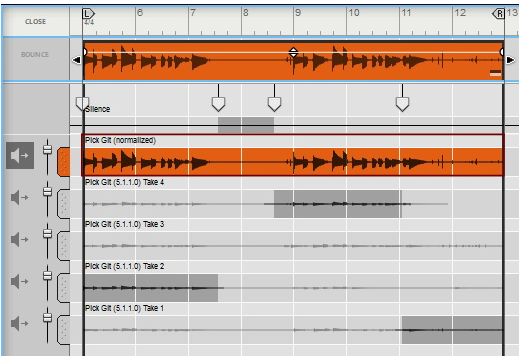
A new Comp Row is automatically created at the top and named after the Audio Track, with the extension “(normalized)”. The new Comp Row contains the “bounced” normalized audio and the Audio Clip has also automatically switched to Single Take Mode. The original audio is preserved on their original Comp Rows.
*
*
*
Reversing audio clips
Reversing an audio clip means playing it backwards, from the end to the start. Reversing can be made on any Audio Clips, regardless of whether they are Single Take clips or Comp clips.
1.
A comped audio clip selected in the Clip Overview in the Comp Editor.
2.
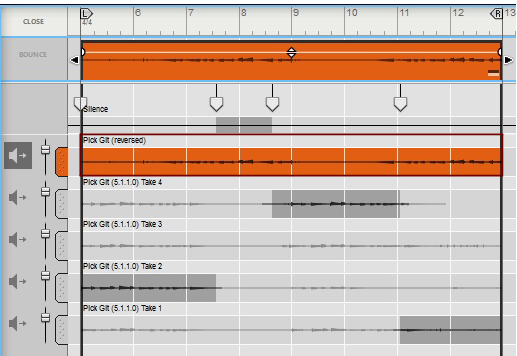
A new Comp Row is automatically created at the top and named after the Audio Track, with the extension “(reversed)”. The new Comp Row contains the “bounced” reversed audio and the Audio Clip has also switched to Single Take Mode. The original audio is preserved on their original Comp Rows.
*
*
*

Audio Editing in the Sequencer : Common audio editing functions