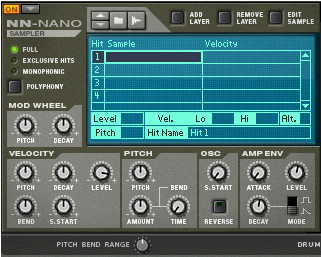
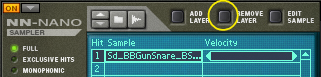
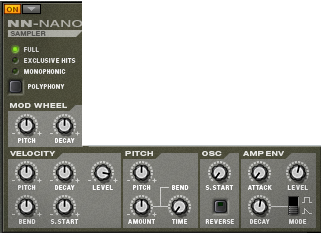
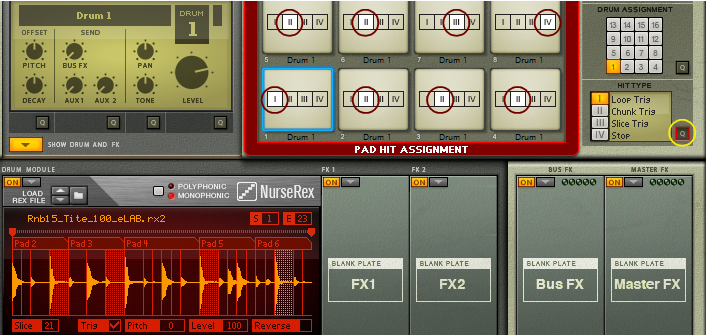
The NN-Nano can handle samples or sets of samples for each of the four different Hit Types described in “Assigning Hit Type to Pads”. Each Hit Type can contain one or several samples which can be layered and/or altered and controlled individually via velocity.
|
2.
|
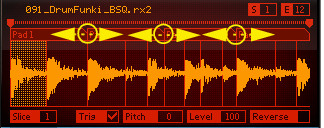
REX files are music loops created in the ReCycle program or when editing audio clips inline in Reason (see “Bounce Clip to REX Loop”). The NN-Nano lets load separate slices from REX files as individual samples.
|
|

The sampling procedure is generic for all devices that can sample (Kong, NN-19, NN-XT and Redrum). The sampling and sample editing procedures are described in detail in the “Sampling” chapter.
Refer to the “Sampling” chapter for details on how to set up and use the sampling feature.
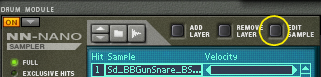
If you click the Edit Sample button with a sample selected in the display, the sample will open in the generic Edit Sample window. In this window you can edit the sample and save as a self-contained Song Sample. See “The Edit Sample window” in the Sampling chapter for details about editing samples.
|
•
|
|
•
|
|
•
|
|
•
|
|
•
|
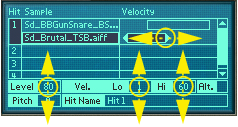
Edit the Hit Name if you like by clicking in the Hit Name box, typing in a new name and then pressing [Enter]. The name will appear in the Hit Type display on the main panel (see “Assigning Hit Type to Pads”).
|
•
|
|
•
|
|
•
|
|
•
|
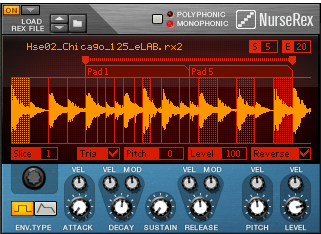
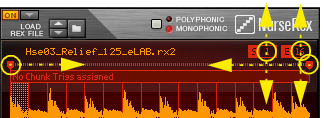
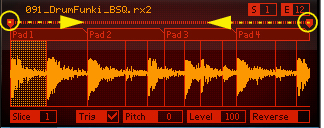
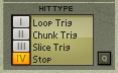
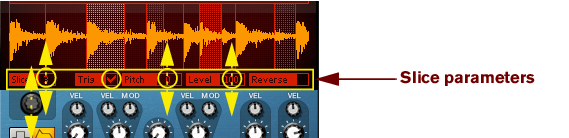
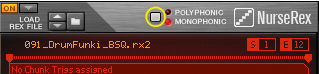
The Nurse Rex can load standard REX files and play back the loops and/or slices in a variety of ways depending on the selected Hit Type (see “Assigning Hit Type to Pads”).
In Loop Trig mode, you trig the REX loop to play one single cycle every time you hit the assigned pad. Loop Trig can also be used together with the “Stop” mode on another pad to immediately stop the loop playback, see “Stop” below.

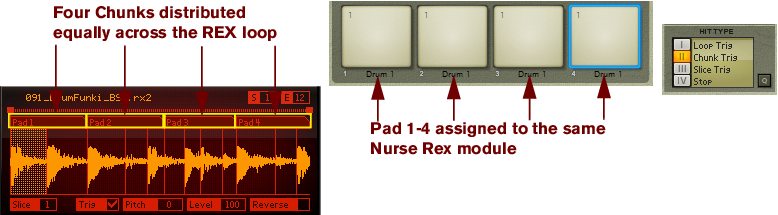
In Chunk Trig mode, you can assign several pads to play back shorter sections - chunks - of the REX loop. The number of chunks is determined by the number of pads you have assigned to the REX loop using the Chunk Trig Hit Type. The chunks are distributed in equal sections across the REX loop. Chunk Trig can also be used together with the “Stop” mode on another pad to immediately stop the chunk playback, see “Stop” below.


|
•
|
|
•
|
Click the Trig check box for the slices you want to alternate between using the Slice Trig Hit Type.
|
•
|
|
•
|
|
•
|
On the Nurse Rex panel you can edit parameters that are common to all slices in the loaded REX loop:
|
•
|
|
•
|
|
•
|

|
•
|
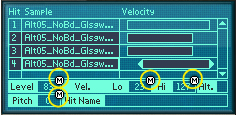
This controls the overall output level of the Drum module to the FX1 and FX2 Slots (see “Signal flow”). The Level is also affected by velocity.
|
•
|
|
•
|
|
•
|
This controls the head tuning when Hit Type 4 (Edge Hit) is selected for the pad (see “Assigning Hit Type to Pads”).
|
•
|
This controls the overall output level of the Drum module to the FX1 and FX2 Slots (see “Signal flow”). The Level is also affected by velocity.
|
•
|
|
•
|
|
•
|
|
•
|
|
•
|
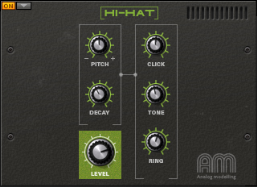
This controls the overall output level of the Synth Hi-hat module to the FX1 and FX2 Slots (see “Signal flow”). The Level is also affected by velocity.
|
•
|
|
•
|
|
•
|