The sampling feature allows you to sample external audio (or internally from the outputs of any device) and use in any of the devices that support sample files, i.e. NN-XT Redrum and RV7000 Mk II.
The sampling workflow has been designed to be as quick and easy as possible, so you don’t lose any inspiration. Regardless which device you use when sampling - be it the NN-XT, Redrum or RV7000 Mk II - sampling can be instantly accessed by simply clicking, or by clicking and holding the Sampling button(s) on these devices:
See “Sampling procedure” for more details on how to sample.
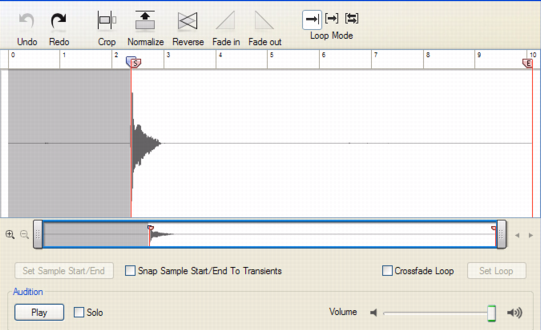
All sampling parameters and functions are controlled from one single window - the Edit Sample window. This window is used when you’re editing samples in any of the devices described above, See “Editing samples” for more details.
Whenever you sample in Reason Essentials, the resulting audio files are stored in WAV format. The sample rate is determined by the settings on the Audio tab in Preferences (see “Audio settings”). The resolution (bit depth) is defined in the setup application for your specific audio hardware (consult the manual for your audio hardware for information).
Actually, Reason Essentials is totally agnostic about what sample rate and resolution you use. If you like, you can change audio settings at any time without affecting the pitch, playback speed etc. of your samples. What you have once sampled will always sound the same, regardless of the current audio settings!

