|
|
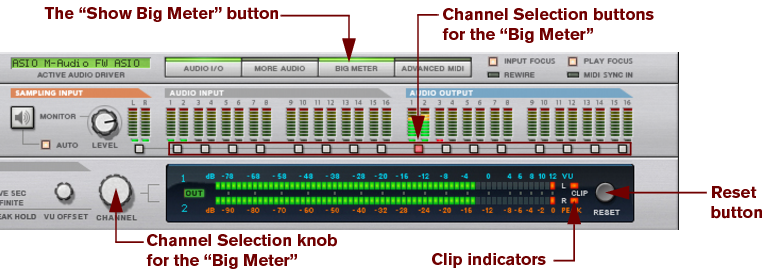
However, the number of available inputs and outputs depends on the number of inputs and outputs on your hardware audio interface. For example, if you are using a standard sound card with stereo inputs and outputs, only the first two inputs and outputs will be available. In the Hardware Interface, the indicators are lit green for all currently active and connected inputs and outputs. Activation of inputs and outputs on your hardware audio interface is done on the Audio page in the Preferences dialog (see “Active input and output channels”).

In most cases, you will want to have the Main Mixer Master Section device connected to outputs 1 and 2 of the Hardware Interface. This connection is made automatically as soon as you create a new Song document. However, there might be situations where you want to manually route audio to other outputs of the Hardware Interface. For example if you want to use the Control Room Outputs of the Main Mixer (see “Control Room output section”).
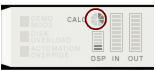
To send the sound of a device in the Rack to a specific output, you route the device output to the corresponding Output jack on the Hardware Interface. This is done by using the patch cables on the back of the rack, as described in “Manual routing”. If we flip the rack around, by pressing the [Tab] key, the Hardware Interface looks like this:

|
| Comment:
|
||
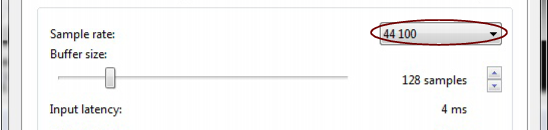
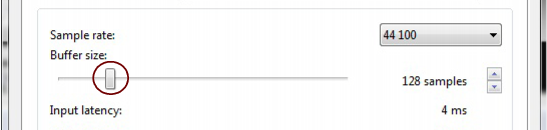
See “About latency” for more information about buffer size and latency.

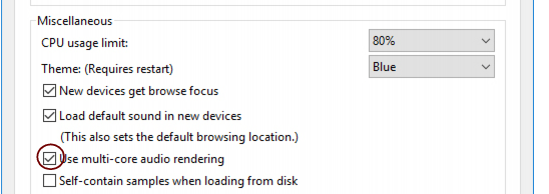
In the “Miscellaneous” section on the “General” page in Preferences, you can define an upper limit for the CPU usage. If the DSP Load should exceed this set limit, the Reason application will stop receiving and outputting sound. If this happens, you might have to change the audio settings (see “Sample Rate settings for recording and playback” and “Buffer Size settings”) - or remove tracks and/or devices from your song. By default, the “CPU Usage Limit” is set to 80%. This is where the CPU load usually starts to make the sound crackle and distort.

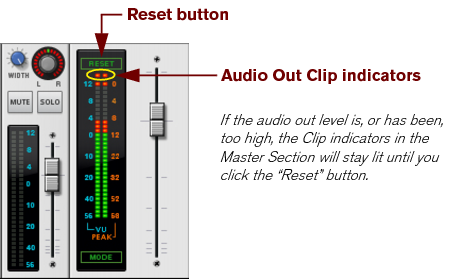
You could also use the MClass Maximizer as an insert effect on the Master Section in the Main Mixer to ensure that clipping never occurs - see “The MClass Maximizer”.
|
|
In some situations, the Audio Out Clip indicator on the Transport Panel and the Output Clip indicators on the Reason Hardware Interface might light up if the metronome Click is active in the sequencer during playback (see “Click and Pre-count”). This is nothing to worry about and won’t cause any distortion in your song. To determine if the metronome is causing the clipping indication, just disable Click and see if the clipping stops.
|
