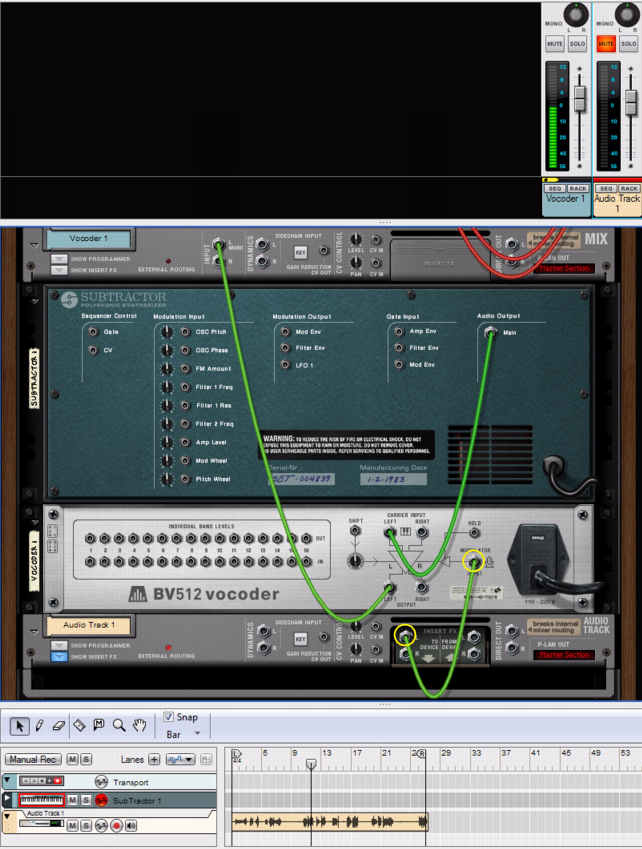
This tutorial describes how to connect and use a typical vocoder setup. We assume here that you have a MIDI keyboard connected. For details on the parameters, see “BV512 parameters”.
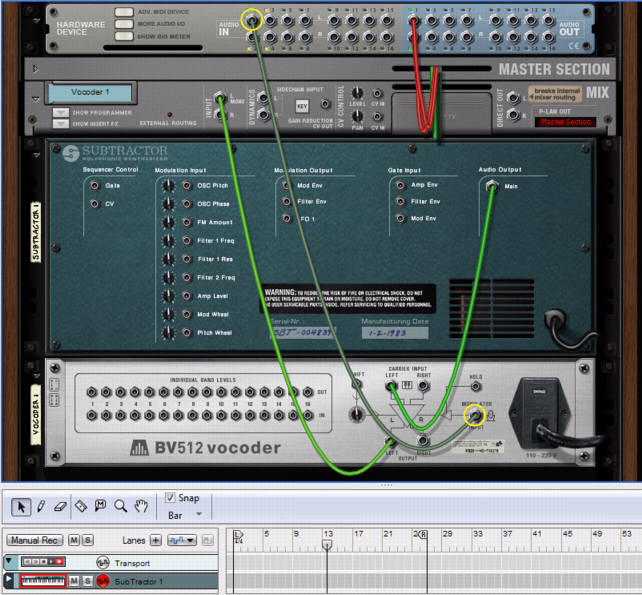
The most common usage for a vocoder is probably the typical “singing” or “talking synth” sound, using vocals or speech as modulator. Since Reason supports live audio input you can sing and play in real time. This is a basic example of how to route your signals:
It’s important to have high frequencies (a lot of harmonics) in the carrier. On the Subtractor, a simple but effective carrier sound would be based on a sawtooth wave, with the filter fairly open. For more about choosing carrier sounds, see “Choosing a carrier sound”.
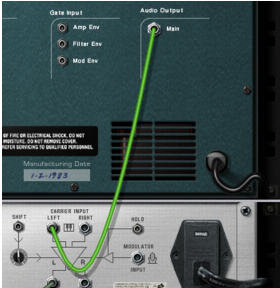
If you flip the rack around you will see that the Vocoder is automatically routed as an insert effect for the carrier device (using the Carrier Input jacks).
|
4.
|
Connect a microphone to your audio interface and manually patch the appropriate Audio in jack on the Reason Hardware Interface to the Modulator Input on the BV512.
|
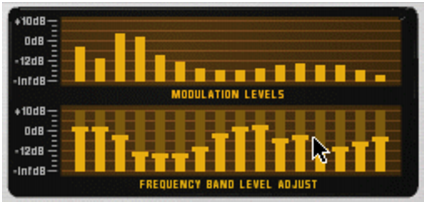
Each bar corresponds to a frequency band, with low frequencies to the left and high frequencies to the right. You adjust the level of a band by dragging its bar up or down. Clicking and dragging across the bars allow you to change the levels of several bars, much like drawing an eq curve.
You can also reset all bands to zero by bringing up the context menu for the Vocoder device and selecting “Reset Band Levels”.
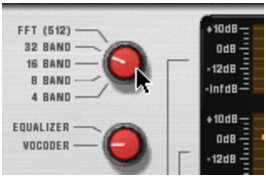
See “BV512 parameters” for details.
Refer to “Recording audio from Mix Channel outputs” for more details on how to record Mix Channel outputs.
|
3.
|
|
|
If you don’t want the original sound of the audio track to sound, click the Mute button on the channel strip in the Main Mixer (or lower the Level Fader to silence).
|
