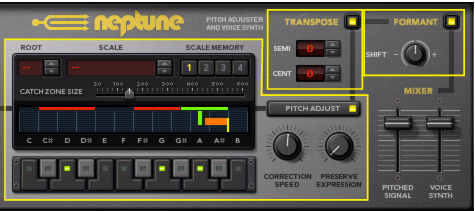
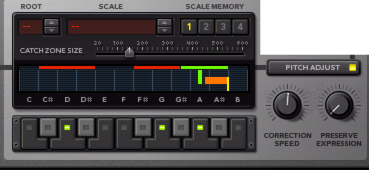
Here is where you control the pitch correction settings, including scale, correction speed etc. Here is also where you find the big display where you can view Input Pitch, Target Note and Catch Zone etc. See “Using pitch correction”. for more details.
Here is where you control the pitch shifting parameters. See “Using pitch shifting (Transpose)” for details.
These three main sections can be used separately, or in combinations, by clicking the ON/Off button of the respective section:
The first section in the signal chain is the Pitch Adjust section. To get a realistic result out of the pitch correction, you will probably want to use it in combination with the Formant section - especially if you control the target pitch via MIDI and the target pitch differs a lot from the input pitch.
The Transpose section can be used stand-alone when you only want to perform stiff pitch shifting of the input audio. If you want to pitch-shift atonal audio, you should use the Transpose section stand-alone, or in combination with the Formant section, for best result. You can also use the Transpose section together with the Pitch Adjust section for transposing pitch corrected audio by a defined amount.
The Formant section can be used stand-alone if you only want to change the character of the input audio - without affecting the pitch. Used on vocals or speech, the Shift knob lets you control the “gender” of the voice.
Besides these three main sections, there are also additional parameters for defining audio input characteristics (see “Input signal type”), MIDI control (see “MIDI Input”) and output level control (see “The Output Mixer section”).
The Catch Zones are displayed as red horizontal boxes above each selected key on the virtual keyboard. As soon as a detected Input Pitch lies within a Catch Zone, the Catch Zone box above the corresponding Target Note switches to green. See “Setting Catch Zone Size”.
|
•
|


